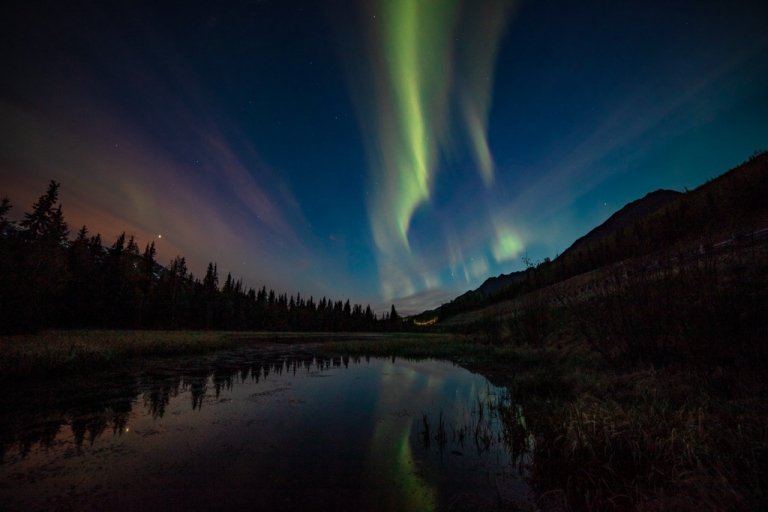
How to Photograph the Aurora
Updated February 2023, How to Photograph the Aurora was originally written in July 2017
This is part three of a four part series where I explain what is aurora, what gear you need to capture the aurora, how to shoot it, and how to edit your aurora photos.
Are you planning a trip to the high latitudes (or super low lats)? This guide series will give you all the tips, tricks, and a step-by-step list of how to shoot the aurora on you’re very own.
Want to catch up on the first part of this ‘How to Shoot the Aurora‘ series? Check out ‘What is Aurora?‘. Not sure what gear you should be using? Read ‘Aurora Photography Gear‘ to find out the must-haves.
How To Shoot The Aurora In 8 Steps
This guide will include suggestions of settings used to capture the aurora in different situations. Of course, your best bet at getting good aurora shots is trial & error. If you’ve shot the stars and have worked in low-light settings then you’re already at an advantage here. Remember that the first time you shoot the aurora your photos likely will not be perfect, so don’t get discouraged.
Looking For More Info To Help You See The Northern Lights? Check Out 9 Tips For Viewing The Aurora
Step 1: Check The Aurora Forecast
While it’s not always perfectly accurate (sometimes far from it), it’s always a good idea to check the aurora forecast. I use the University of Alaska Fairbanks Geophysical Institute’s aurora forecast. They predict the aurora for the entire planet, not just Alaska– that means you too Antarctica and New Zealand.
Other websites to check out are Aurora Service, and NOAA.
Step 2: Find Clear, Dark Skies
As you near the poles there are large fluctuations in daylight from summer to winter. Summer months are out of the question, as there is not enough darkness to be able to see the northern or southern lights.
Another key is to get as far from city light (light pollution) as possible. You want dark as dark can be!
You’re wasting your time if it’s a cloudy night, you will not see the aurora under thick cloud cover. If you have partially cloudy skies you can get some neat effects, but a clear sky is best.
Step 3: Set Your Image Format To RAW
Shooting in RAW will yield you the best results and will open you up to more capabilities in editing later on.
Step 4: Put Your Lens In Manual Focus (MF)
You cannot, I repeat, cannot shoot at night in autofocus (AF). Why? Because it’s dark and your camera will likely be unable to focus on anything.
Step 5: Get Your Lens Focused
Before you get discouraged, remember that experimentation and practice are going to give you the best results.
Most lenses have an infinity (∞) setting, set your lens at this setting, and take a test shot. Most lenses will need to be adjusted just slightly off from the ∞ setting to be perfectly sharp, so this is where trial and error come in.
Once you’ve got it in the perfect spot, mark it with tape. You can also switch your camera to ‘live view mode’, and zoom fully in on something far away, say a star, or the moon, and adjust your focus ring until the object is crystal clear.
Step 6: Place Your Camera On A Tripod
Because, duh! You need something sturdy to hold your camera perfectly motionless for the duration of the shot or else you’ll get blurry images.
Remove anything that may create any movement too, like camera straps. For this reason, I recommend a wireless remote. Read more about aurora photography gear, in my previous post.
If you use a remote with a cord to take your images, I suggest using peel and stick velcro to secure it to your tripod to limit movement. If you do not have a remote, set the 10 second timer in your camera’s settings to reduce shake in photos.
Optional Step: Set Your White Balance
If you are shooting in RAW this can easily be tweaked during editing. However, depending on the light situation I will adjust my white balance. I typically leave my white balance in AWB (auto white balance).
There are certain situations where the surroundings and light pollution will make the sky look a dark orange-red. In this case, I will shoot my photos in the tungsten setting. This is another step you’ll have to play around with to yield the desired result.
Step 7: Set Exposure, f/stop, & ISO
This is where it gets technical and can vary from one situation to the next. I will say this now: when I’m going out to shoot the aurora I normally will set my camera to a 15 second exposure, f/2.4, ISO 1600, and just see what comes up.
From there I adjust constantly depending on the surrounding light, and just how active the aurora is. I usually shoot in very dark surroundings so I pretty much 100% of the time shoot at my widest aperture for my lens (f/2.4).
If the aurora is faint and not very active (moving slowly) I will opt to shoot a longer exposure, sometimes up to 30 seconds. Nights when the aurora is intense and dancing rapidly I usually opt for a shorter export time, sometimes as short as 1-2 seconds to capture the details in the northern lights.
In cases where my exposure time is longer, I will normally opt for a lower ISO between 800 and 1200. When my exposures are short I will up the ISO to compensate for the length of time light is allowed in by upping my ISO as high as 3200.
Remember that as your ISO goes up, so does the noise or graininess of the photo. Always drop your aperture to the widest possible f/stop before upping the ISO to let light in!
Another variable is light pollution. If I’m shooting the aurora on say, a full moon night, I will usually lower my exposure time and ISO as fit since I will have the moon putting more light into my image. I will typically do the same when shooting a photo where I do have light pollution from a city nearby.
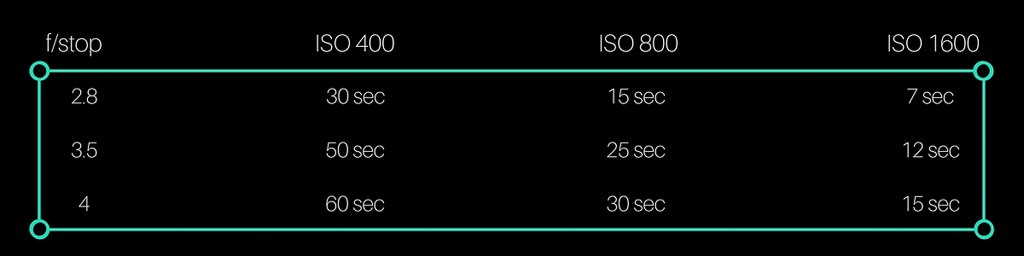
Remember that the settings you use will come down to taste and trial and error. I’m not super methodical in my approach to night photography, I try to assess the situation and think about my desired effect for the photo. I know some of you are more mathematical in your approach, so here’s a chart to give you some ideas:
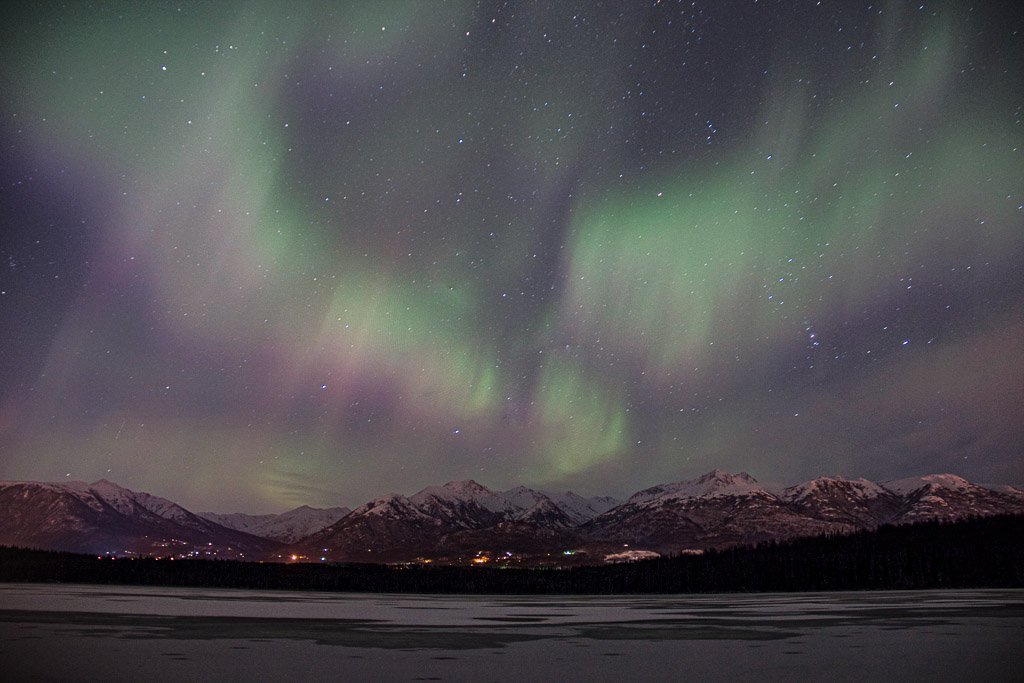
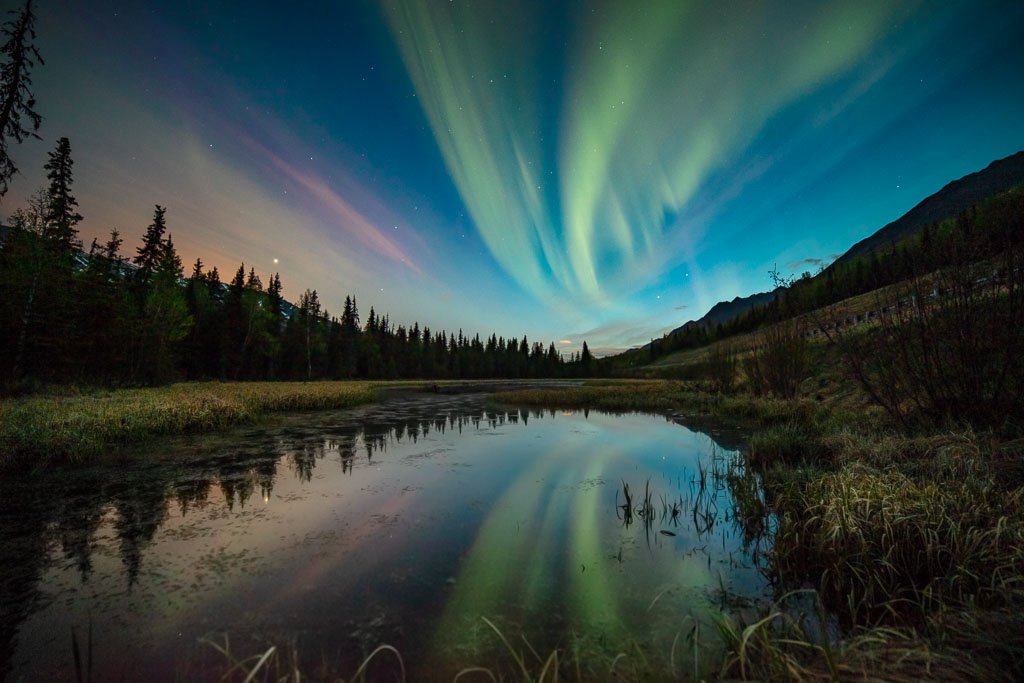
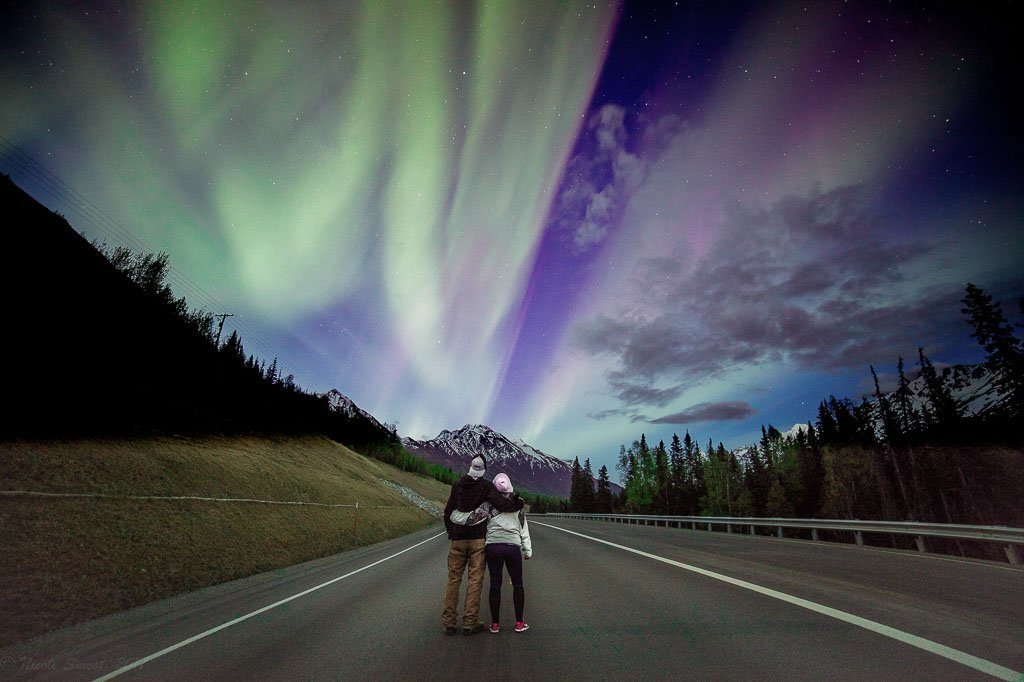
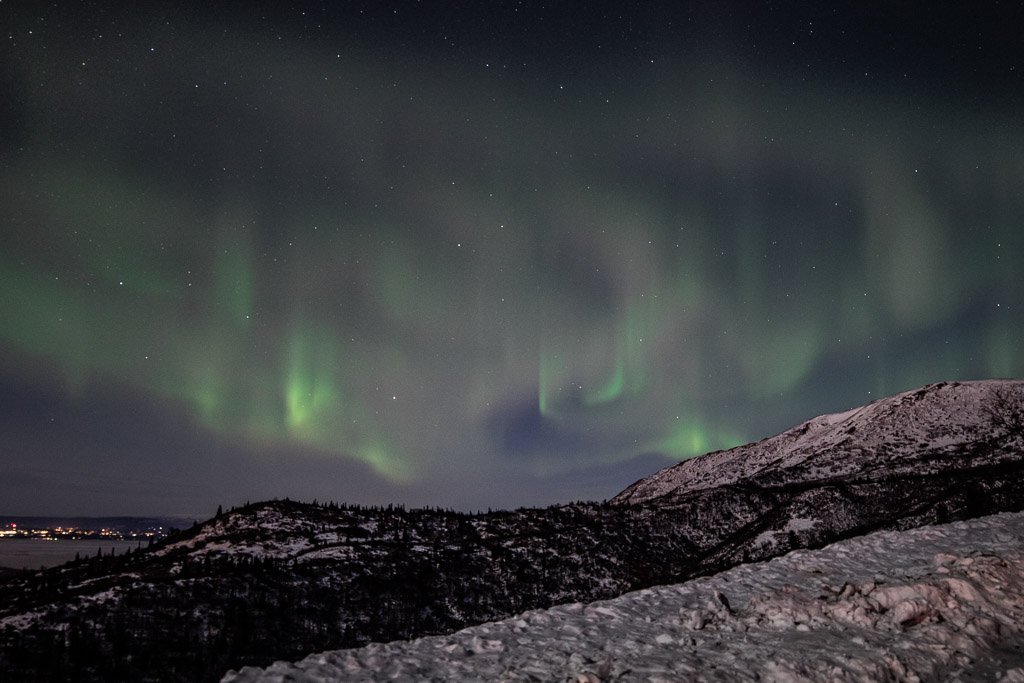
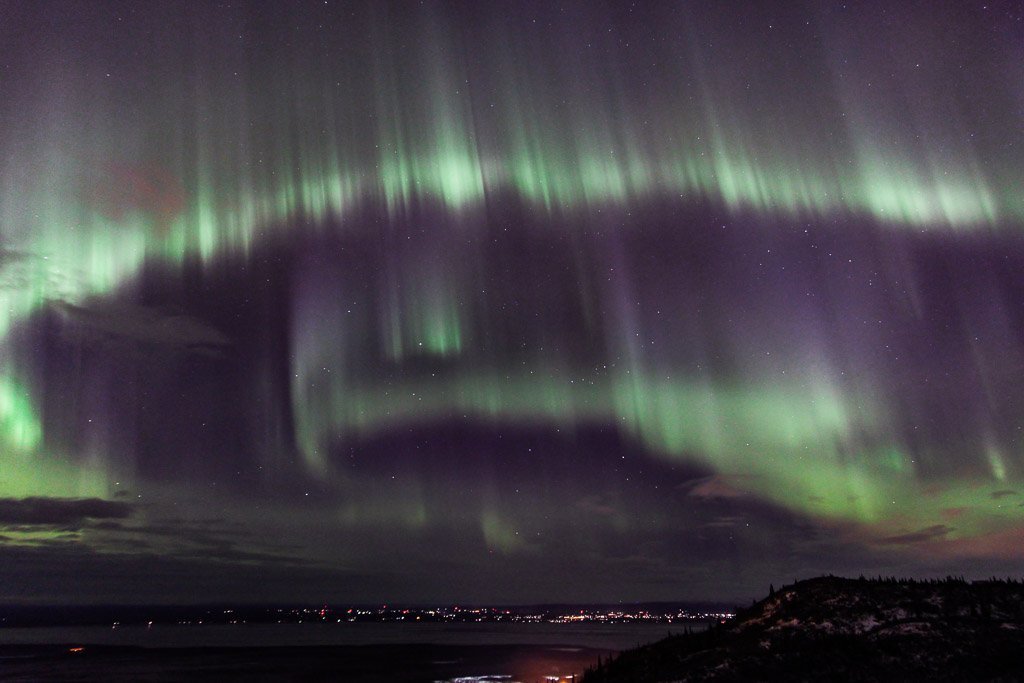
Here Are Aurora Photo Examples Shot In Different Exposure, Aperture & ISO Settings
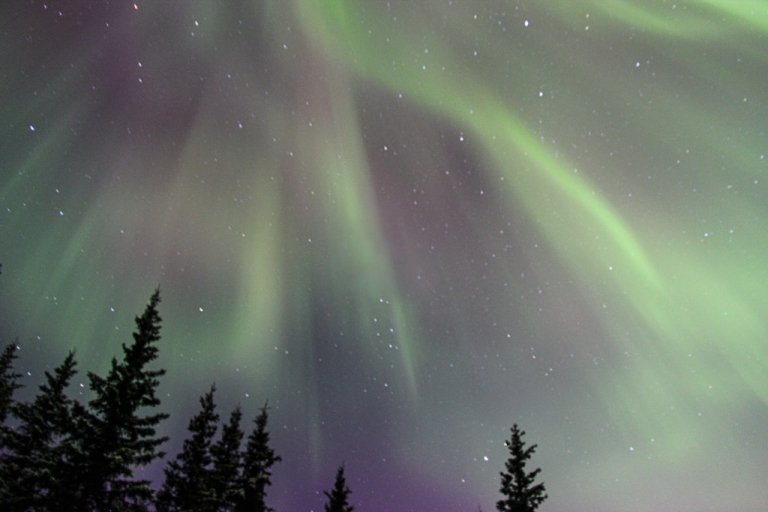
This is one of my favorite shots I’ve taken of the northern lights. This image was taken at 5 seconds, f/2.8, and ISO 1600. But it’s worth noting this was taken shortly before sunrise, so the sky was quite bright

Step 8: Now Play Around With It!
The only way to shoot the aurora and take amazing shots is to practice. It takes a bit of trial and error to know what settings to use and when to use them. Patience and practice are key.
Have Any Questions About How To Photograph The Aurora?
Ask your aurora photography related questions in the comments section below.
Check Out The Other Posts In The How To Shoot The Aurora Series
What Camera Gear Should I Use To Photograph The Aurora?
Camera Settings For Shooting The Aurora
How To Edit Your Aurora Photos
Need Travel Insurance and Evacuation Services?
Start shopping for travel insurance plans over at IATI Insurance. Readers of the Adventures of Nicole get a 5% discount off your plan.
The Adventures of Nicole partners with Global Rescue to offer the world’s leading medical evacuation and security advisory services. To travel with peace of mind, shop evacuation coverage at Global Rescue.
Related Posts:
How To Edit Northern Lights Photos
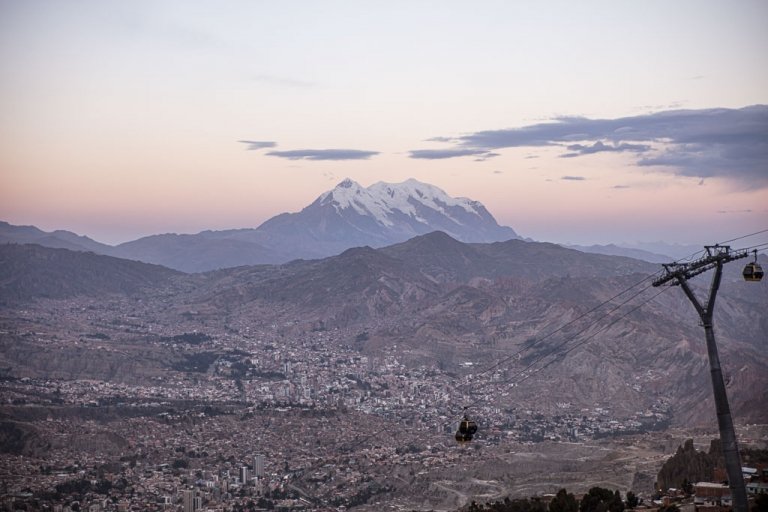
10 Photos That Will Make You Book A Ticket To Bolivia
Aurora Photography Gear
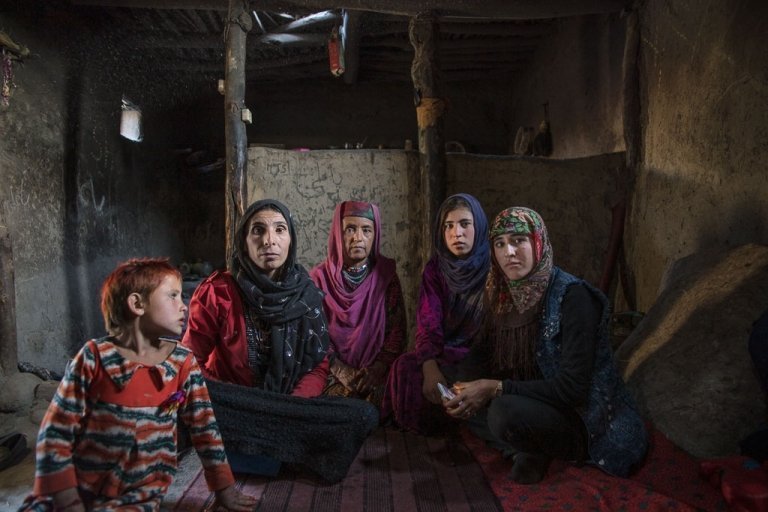
Photos From The Wakhan Corridor, Afghanistan
A Photographic Journey Through White Sands

The Best Places To See The Northern Lights in Alaska

9 Tips For Viewing The Aurora
How To Photograph The Aurora

12 Stunning Photos From Pakistan’s Gilgit Baltistan
How to Shoot The Stars

How To Shoot The Aurora: What Is Aurora?
My Travel Photography Gear