How to Shoot The Stars
Updated August 2023, How To Shoot The Stars was originally written in April 2016
I’ve gotten a few requests lately for me to explain how to shoot the stars.
I, by no means, consider myself a professional photographer. I have ZERO formal training. I just like taking pictures.
So, no, this is not an expert, professional explanation of how to shoot the stars. These are just some explanations and how-to’s in Layman’s Terms from a traveler who has learned this through trial and error.
Just shy of a year ago I was rattling down a Namibian dirt road when Ben, one of the other travelers with me started talking about how he was excited for that night because we would be out in the middle of nowhere and he was going to shoot some photos of the Milky Way. I had been wanting to shoot the stars for a while but hadn’t a clue where to start.
I mean, if I was really motivated I would have self-trained on the internet, but it’s much more fun when you someone to go with you and explain it to you. I learn better by actually doing something, not by watching a youtube video or reading a post on the internet.
So I told Ben I wanted him to show me.
Here is what you will need:
- A camera that has manual mode, a full-frame camera is ideal… but hell, I just upgraded to a full-frame. No, you don’t need a FF camera yet, I shot on a Canon 600D for a quite a while -still use it and love it to death, we’ve been through a lot together! (SLR/DSLR cameras will have a manual feature, some nicer point and shoots even will). Read more up on DSLR cameras here. I did eventually upgrade to a full frame Canon 5DS-R.
- A wide-angle lens. I like really wide angles, my favorite lenses are the Canon 10-22mm on my crop Canon 600D and the Rokinon 14mm on my new Canon 5DS-R. Of course, you don’t necessarily have to go that wide. Learn more on wide-angle lenses here.
- A tripod.
- A remote (you can make-do without this, but I highly advise getting one). I use a wireless remote majority of the time.
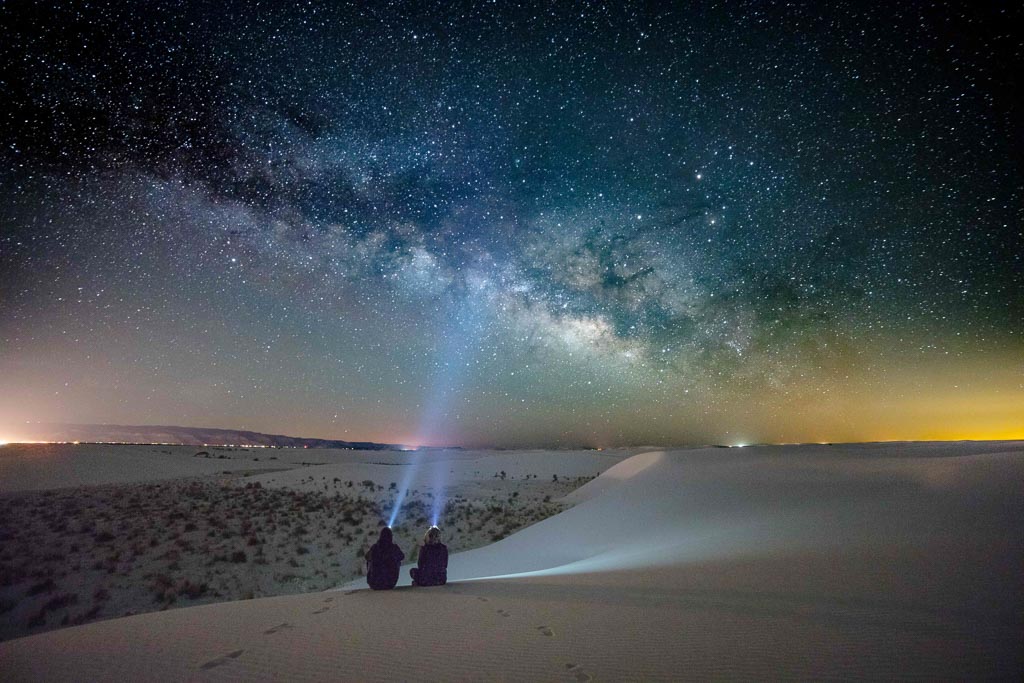
- A dark location, preferably away from any lights, far away from a city.
- Clear skies.
The times I went out in Africa I was sans remote, so I was making do, next I will explain settings and what they do. The first night I handed Ben my camera and he fiddled with the settings, had me put it on the tripod, and snap a photo. Then he’d say change the ISO to this, or the aperture of that, then I’d snap another.
You WILL be doing a lot of trial and error here.
Shutter
Shutter speed is how long the shutter stays open. When the shutter is open it is allowing light into the sensor. The longer the shutter stays open, the longer the amount of time it allows light to hit the sensor.
Aperture (f-stop)
Aperture is how much light is being let into the sensor. The way I’ve always had aperture explained to me is by the comparison of how your pupil in you eyeball works.
The larger the aperture, the more light is being let in, the smaller the aperture, the less light is being allowed in.
However, f-stop numbers are backward. The smaller the f-stop number, the bigger the aperture is. Therefore shooting at night, you’d want a smaller f-stop number than, say shooting a normal picture in the day.
That smaller f-stop number would represent your dilated pupil at night trying to let in as much light as possible to be able to see since we are day-creatures. Click here for a good, in-depth explanation of aperture.
ISO
This is your camera sensor’s sensitivity to light, which is the simplest explanation of it. It is much more complex than that and I, myself don’t fully 100% understand everything about it, so let’s make this as easy as possible on all of us and cut to the chase.
Night photography usually requires the sensor to be more sensitive to light since you are shooting a low light setting. The higher the ISO number, the more sensitive it is to light. Read more up on ISO here.
So that first picture I took? Ben had set my shutter speed to 30 seconds, f-stop was as low as my lens went at the widest angle which was 3.5, and my ISO was at 3200. Then we started messing with each aspect individually.
Here are some other good pointers:
Use the widest angle lens
If you are using a standard kit lens (ie: an 18-55mm), you want your lens at 18mm, that is your widest angle. A wide-angle lens with an f-stop of 2.8 seems to be the best (some even go lower), but if you don’t have that, then work with what you got.
Use a remote when snapping the image
This reduces the shaking of your camera while taking the image. If you are on a trip and are out in west bumble-fuck like I was the night I first learned and don’t own a remote, then, well, do the best.
You can set a 10 second or 2-second delay on your camera which helps, then try to press that button without shaking the camera. Then go get a remote when you find a photography shop.
Another thing I will mention here is: Take off your camera strap. It will cause movement as well, think wind blowing.
Shoot in RAW
If this is an option on your camera. This opens up more possibilities when editing the photo later on programs such as Adobe Lightroom or Photoshop.
Get familiar with the rule of 600 (but don’t swear by it)
This helps reduce star trails and tells you the optimum shutter speed. If you are using a full-frame camera you divide 600 by your focal length (focal length is the length of your lens).
If you are not using a full-frame you times your lens length by 1.5 (for most crop body Nikons) or 1.6 (for most crop body Canons) and then divide 600 by that number.
For a full-body, using say, a lens at 18mm: 600/18=33 seconds.
For a not full-body Nikon, using an 18-55mm lens at 18mm: 600/(18×1.5)=22 seconds.
For a not full-body Canon, using an 18-55mm lens at 18mm: 600/(18×1.6)=21 seconds.
I’m sorry if you are horribly confused by this.
I do toy around with the shutter speed, I find that you really eliminate star trails if you stay under 25 seconds (stars looking elongated).
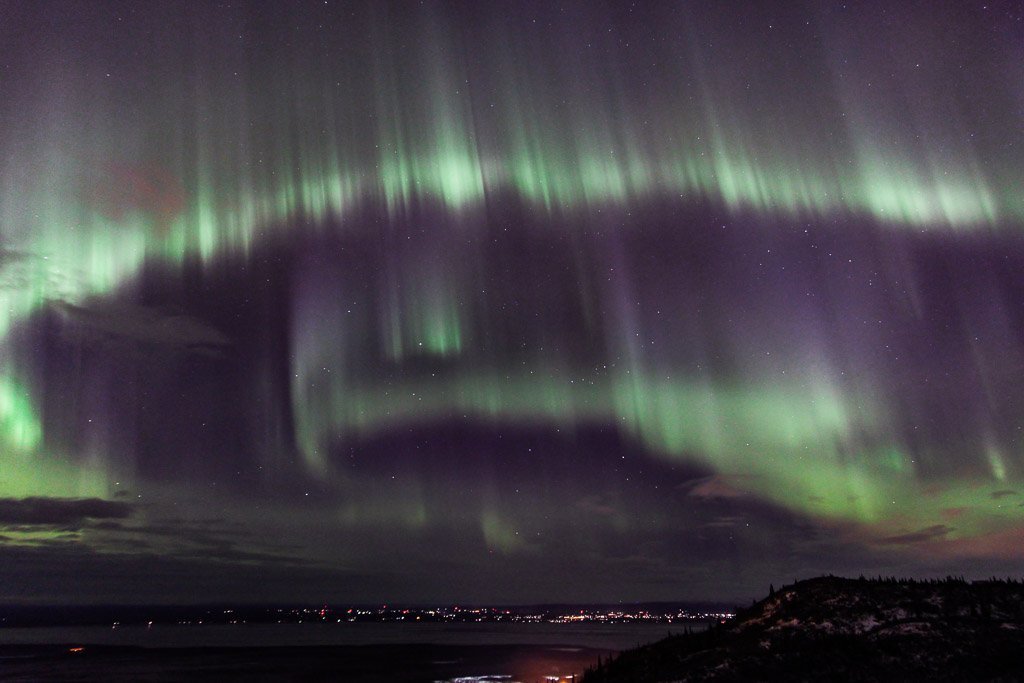
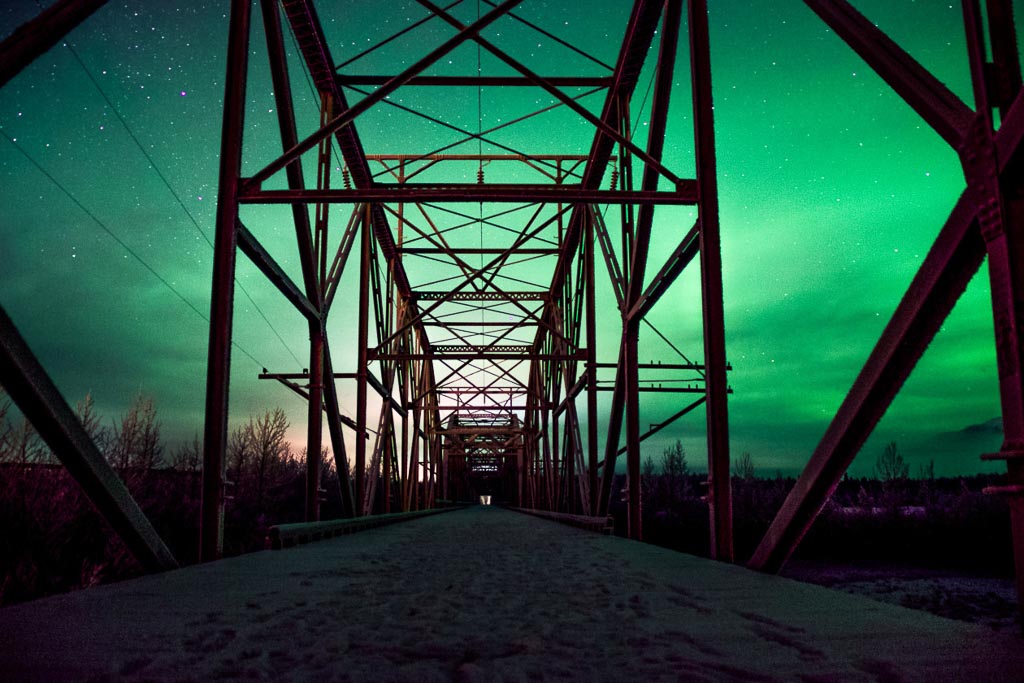
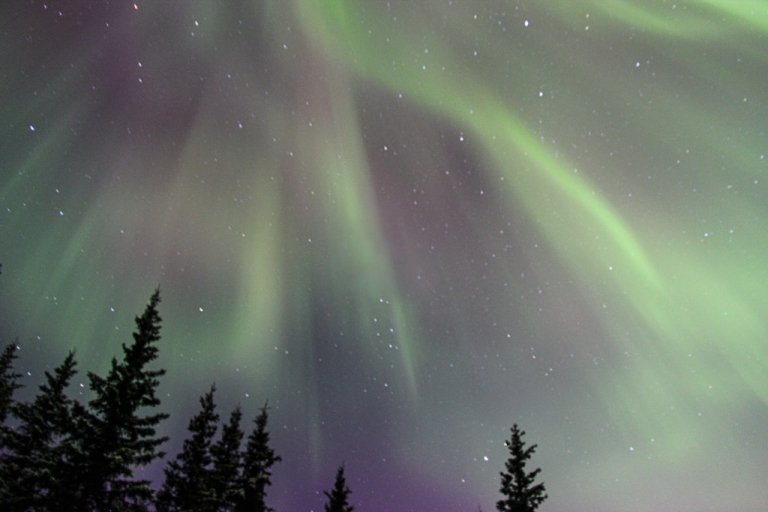
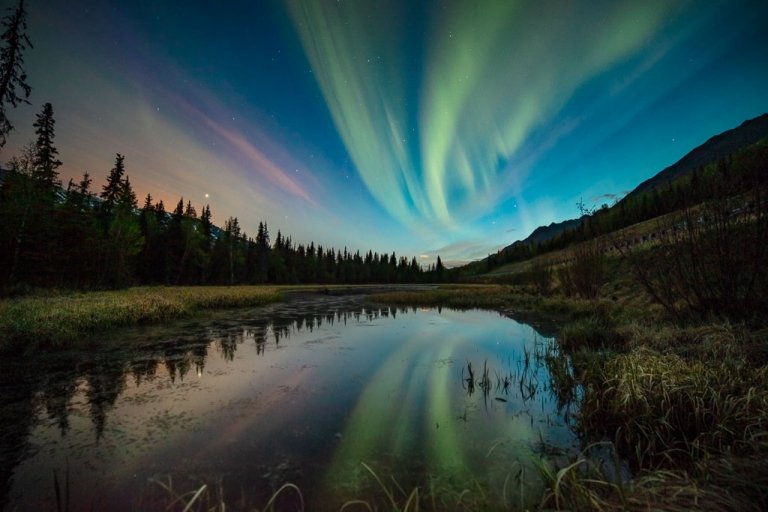
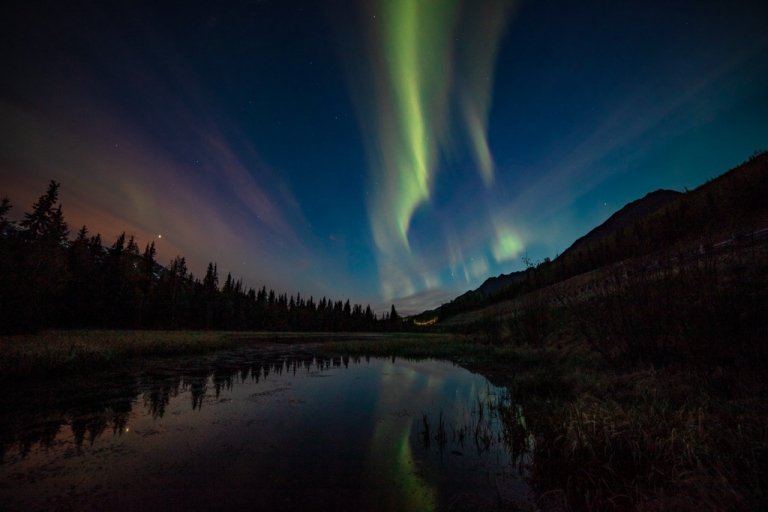
Sometimes I will go shoot at 30 seconds depending on the conditions where I’m shooting and what I’m going for. I tend to hover around a shutter speed of 20 seconds. That being said sometimes I do very short shutter speeds, such as the picture of the northern lights above, that was only shot at 4 seconds because the aurora was moving around so quickly I didn’t want it to blur. Here is a chart and more info on the rule of 600.
Focusing your Camera
There are a couple of options here, you can:
Autofocus on a bright light near you, like a streetlight, or even the moon. If you don’t have either of these, then take a flashlight, turn it on, walk out a way, and then set it down pointed back towards your camera and then focus on that light.
Press your shutter about half down and let the camera focus, then flip the lens setting to manual focus. Once you’ve done this, be careful not to touch the focus ring.
You can also take advantage of the whole infinity setting as well if your lens has an infinity setting. Make sure your camera is on MF (manual focus).
Don’t always rely on the infinity setting to be 100% accurate though, always take a test shot and go from there. Read this post here to learn more about infinity and setting your camera to infinity.
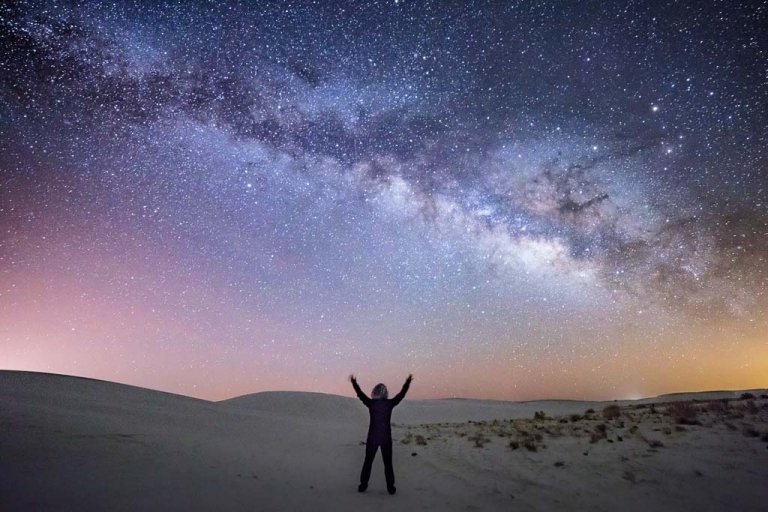
The final option is to have a subject in the photo (my favorite), like a tree, mountain… whatever, get creative. Focus on the subject with your stars overhead.
In order to focus, shine a flashlight on your subject, autofocus your camera to it and then flip it to manual like mentioned above and try not to touch the focus ring.
The final option is to go to your shooting site during the day and focus, tape or use a permanent marker to mark your settings and return when it is dark.
I think that’s about all I have, you guys!
Now get out there, set up a tripod, get focused select your ISO/f-stop/shutter settings and start shooting. The only way to get good at this is to do it a lot and get a good understanding of how it all works.
I’ve recently upgraded to a Canon 5DS-R and shoot at night with a Rokinon 14mm lens. For the longest time, I was shooting with my beloved Canon 600D, and an 18-200mm and eventually worked up to the Canon 10-22mm lens.
My initial go to settings are 20 seconds, 2.8 f-stop (On the Rokinon 2.8, the Canon 10-22mm and 18-200mm 3.5 is my lowest f/stop), and ISO 1600 and then I start tweaking from there.
After you have finished up shooting, plug that card in your computer and get to editing. I’m still very new at this part and get very impatient with it. I use Lightroom to edit.
If you’d like more professional advice on these matters some great places to get info are:
Also, there are numerous tutorials on YouTube to watch, so start searching!
Need Travel Insurance and Evacuation Services?
Start shopping for travel insurance plans over at IATI Insurance. Readers of the Adventures of Nicole get a 5% discount off your plan.
The Adventures of Nicole partners with Global Rescue to offer the world’s leading medical evacuation and security advisory services. To travel with peace of mind, shop evacuation coverage at Global Rescue.
More Photography Posts:
9 Tips For Viewing The Aurora
How To Edit Northern Lights Photos
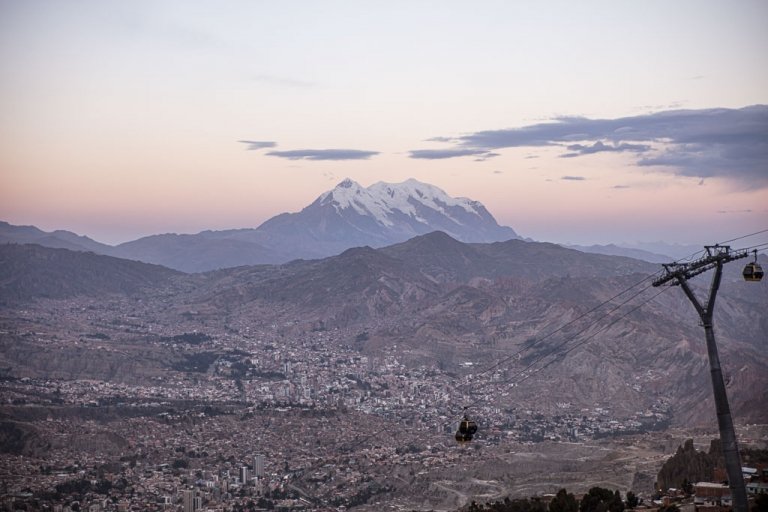
10 Photos That Will Make You Book A Ticket To Bolivia
Aurora Photography Gear
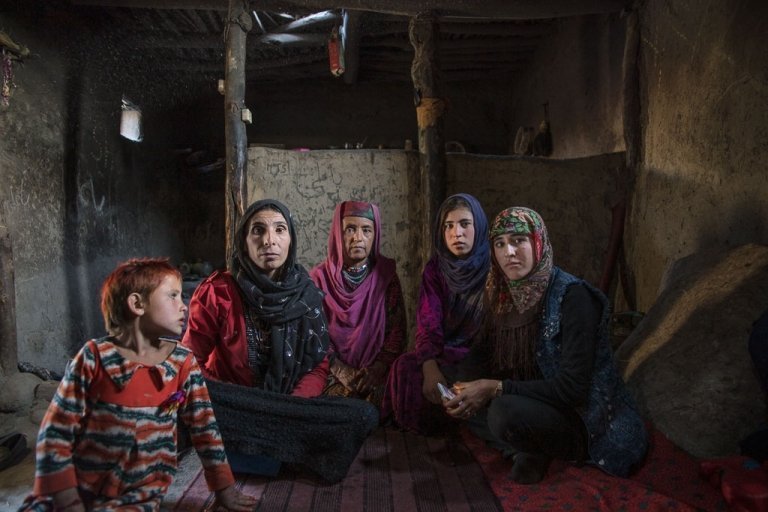
Photos From The Wakhan Corridor, Afghanistan
A Photographic Journey Through White Sands
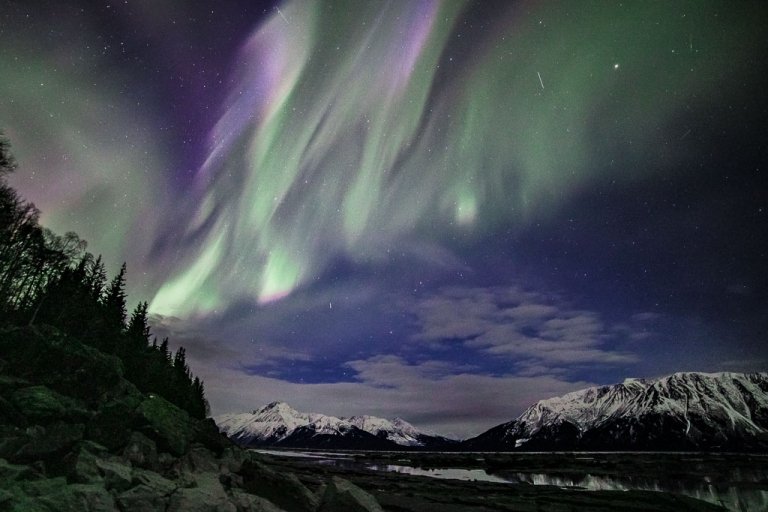
The Best Places To See The Northern Lights in Alaska
How To Photograph The Aurora

12 Stunning Photos From Pakistan’s Gilgit Baltistan
How to Shoot The Stars

How To Shoot The Aurora: What Is Aurora?
My Travel Photography Gear
I was working on a job assignment, as boring as you can’t imagine, when “bling, you got mail”
Adventures of Lil Nicki teaches you how to shoot stars… pinned on your own board. You’re my hero, my friend, my fellow blogger! Thanks for remembering I’ll be trying not to suck at taking pictures to stars in the desert 😀
So proud to have met you, to belong to the same group of different-but-still-same-madness-sharing-travel-bloggers!
XXX
Have a great week!
Thanks Gabi! I love reading your posts too, and so glad we crossed paths! When do you head to the desert? I’ll be looking forward to seeing your photos 🙂